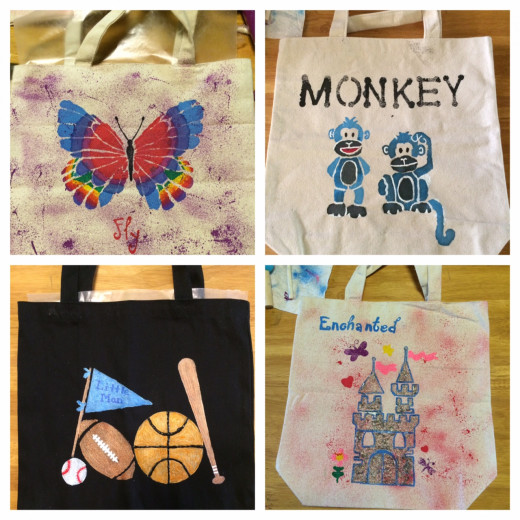
Have Fun Designing Your Own Tote Bag

Designing/painting your own canvas bag is a fun, unique way to either display your own fashion or spend some fun quality time with your kids. The tote bags I made were made with and by kids ages 6, 7, and 9. They had a great time painting and when they carry their tote around they are all very happy to display them for all to see. The best thing to keep in mind when designing and painting your tote bag is to simply have fun with it. If you are going for a more adult look, I recommend using simpler geometric patterns and thick, bold lines. If you are going for a fun, younger look try using the spray fabric paint or stencils with a whimsical feel to them. In any case, simply have fun.


Materials
1. Fabric Paint
- Puffy paint, for a textured affect or use with a paint brush as normal paint
- Spray bottle fabric paint for a more loosely colored affect
- Fabric markers for fine detail
2. Blank Canvas Tote Bag
3. Stencil, if desired
4. Masking or painters tape, if using a stencil
5. Wax paper
Step One: Design
Before you begin, the best thing to do, especially if working with kids, is plan your design ahead of time. If you are using stencils or have a particular idea in mind make sure it is clear in your head. This will save you time later when you will still have to wait for the paint to dry before moving on.
Step Two: Wax Paper
Cut a sheet of wax paper large enough to cover the inside of your tote bag. The wax paper will help keep the paint from leaking onto the other side of the tote bag.
Step Three: Background
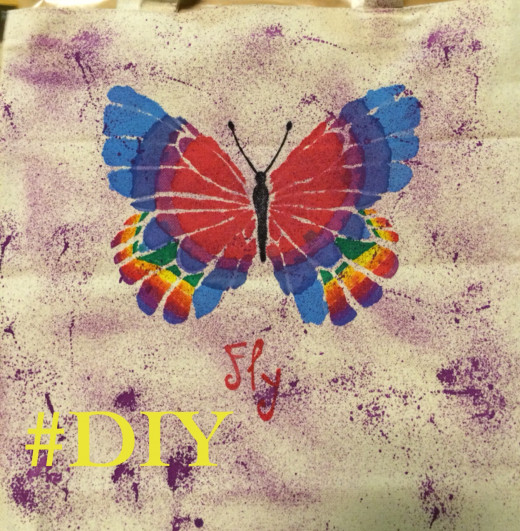
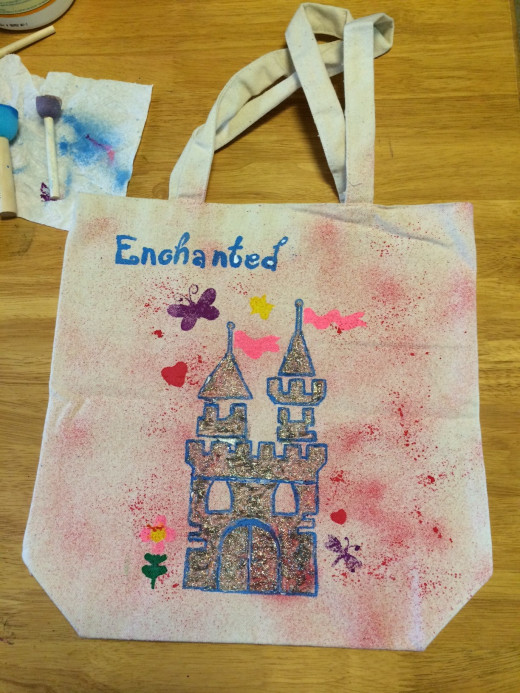
If your tote bag is going to have a back ground, for example, he butterfly tote above has a purple background. Do the background first. To get the effect in the tote above, we used the spray paint to spray purple paint all over the tote, front and back. Then we let it dry. You can paint the whole bag one color or several colors.
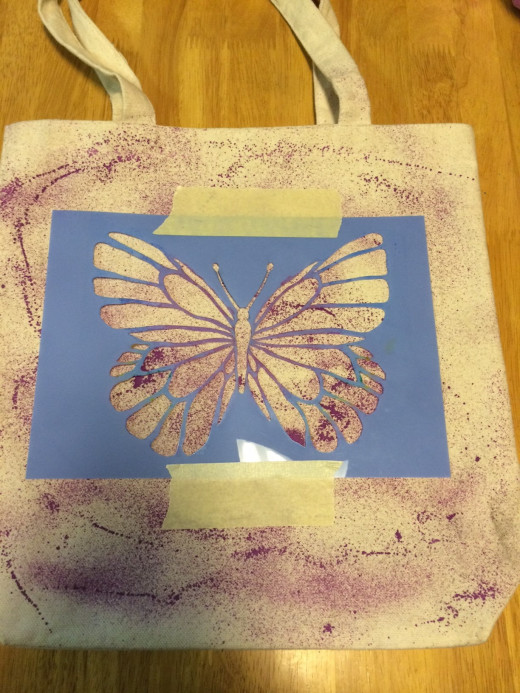
Step Four: Tape Your Stencils
If you are using stencils, and we did for all four bags we designed, then you need to tape them down. It is best to tape them because the stencils tend to move when painting and, if you have a more complex stencils or intend to use several colors, you may have to tape over certain parts of the stencil to keep the colors from mixing. This is especially true if using the spray fabric paint. They tend to squirt everywhere and you may even want to tape parts of the bag to keep from getting paint somewhere you wouldn't want it.
Just Wondering...
Are you planning on designing/painting a tote bag?
Step Five: Let the Painting Commence
Now that everything else has been considered, it is time to paint to your heart's content. Use big, bold lines, or use sponges to create a less uniform look. This is where your creativity comes to life and your favorite colors may flow from your eyes to your canvas tote bag. The design is completely up to you. The sky is the limit.
Step Six: When Painting Dark Canvas Totes
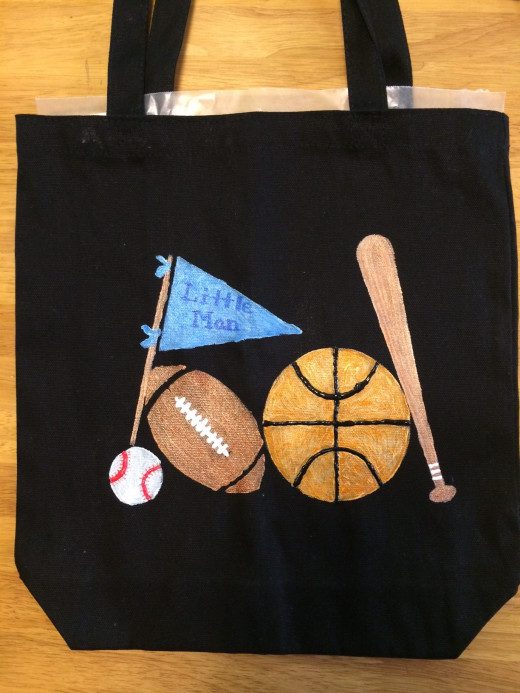
I love the way a nice dark bag looks with a pretty design. If you are designing your own tote, you are not confined to using tan or white canvas bags, by all means paint black too! The trick to painting black is paintnig it white first. Paint the whole area you want to paint white first. This will make any color really stand out against a dark background. In the tote above, a stencil was used to paint each object on individually with white paint. After a couple of coats of white fabric paint were applied they were painted the color they are supposed to be. As a plus, the stitching on each of the balls, and the grip on the baseball bat, were painted with the pointy spout on the short fabric paint bottles. This gave a very nice, shiny, 3-D effect to the objects.
More Arts & Crafts Hubs
- How To Make Your Own Personalized Crayon Art
Have you seen or heard of the new crayon art craze? Wondering how to make your own? It's super easy and this tutorial will make it even simpler. - A Personal Touch on Christmas Ornaments
Do store bought ornaments really convey the real meaning of Christmas? Or should your family start a new tradition and paint your own? Find out how to paint your own beautiful, unique ornaments. - Fun Crafty Idea for Kids Using Craft Sticks
Kids are hard to keep busy. Every few minutes they are bored and need something to do. Here is a fun, easy-to-make, cheap way to keep them occupied for a while. - Architecture Crafts Project
Have you ever wondered how a house would look if it dangling in a canyon by steel cables? If not, come see what I came up with.
Step Seven: The Long Wait
The one and only bad thing about painting canvas bags is having to wait for the paint to dry to use a different color. If you are using two different colors right next to each other, the best thing for you to do is wait for the first color to dry first. If you do not wait, the colors will run together. It does not create a very unpleasant look but if yellow mixes with blue you will get green, and so forth. We let each color dry before we moved onto the next part of the stencil or before we had to move the stencil, for example when we were working on the lettering.
Step Eight: Outline or Fill In
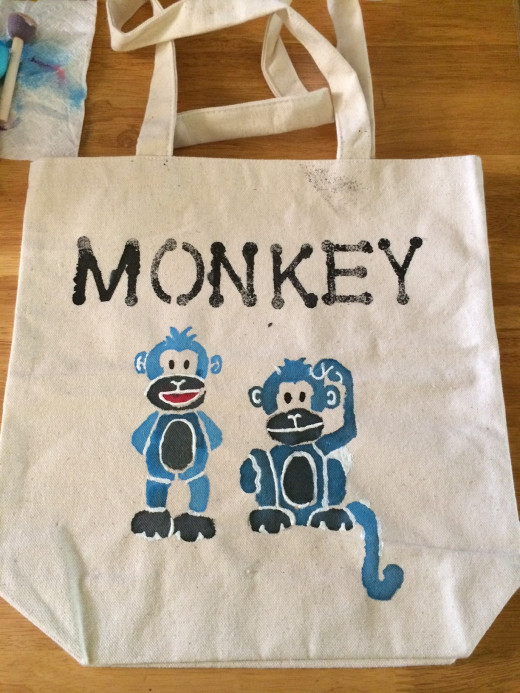
After the primary objects have been painted you may want to go back and outline or fill in objects more. We used several stencils that did not have good boundaries between shapes. To make the shapes look more individual, and not just a big blob, we outlined them. For instance, in the castle tote bag above, we outlined the castle in blue. If we had not done that it looked like one giant silver, sparkly mass. We also used white paint to separate different areas of the monkeys, on the tote below, that did not show up very well from the stencil.
Step Nine: Let dry and Voila!
After all of the painting has finished and all of the tape has been removed, the tote can be left to dry. It will take an hour to several hours, depending how much paint was used. The end effect is a magnificent, personalized tote bag for you to carry all of your little nick-knacks around in. If you have any questions or comments please feel free to leave them below and I will respond as soon as possible.